In today's interconnected world, setting up a remote IoT (Internet of Things) system behind a router using a Raspberry Pi has become an essential skill for hobbyists, developers, and professionals alike. Whether you're managing home automation systems, monitoring environmental conditions, or building custom IoT projects, understanding how to configure a Raspberry Pi for remote access behind a router is crucial. This guide will walk you through the process step-by-step, ensuring you have the knowledge to set up and maintain a secure and efficient remote IoT system.
As the demand for smart devices continues to grow, so does the need for reliable remote access solutions. With the Raspberry Pi's versatility and affordability, it has become one of the most popular platforms for IoT projects. However, setting up a Raspberry Pi for remote access behind a router requires careful planning and configuration to ensure both functionality and security.
This article will provide you with an in-depth understanding of the RemoteIoT behind router example Raspberry Pi setup. We'll cover everything from basic networking concepts to advanced security measures, ensuring that your IoT project runs smoothly and securely. Let's dive in!
Read also:Desi49 Live A Comprehensive Guide To The Rising Star
Table of Contents
- Introduction to RemoteIoT Behind Router Example Raspberry Pi
- Raspberry Pi Overview
- Networking Basics for IoT
- Setting Up Raspberry Pi for RemoteIoT
- Port Forwarding for Remote Access
- Securing Your IoT System
- Using SSH for Remote Access
- VPN Solutions for Enhanced Security
- Troubleshooting Common Issues
- Conclusion
Introduction to RemoteIoT Behind Router Example Raspberry Pi
RemoteIoT behind router example Raspberry Pi refers to the process of configuring a Raspberry Pi device to allow remote access while being connected to a local network through a router. This setup is particularly useful for IoT projects that require monitoring or control from a distant location. By leveraging tools like SSH, port forwarding, and VPNs, you can create a secure and reliable remote access system for your Raspberry Pi-based IoT devices.
Why Use Raspberry Pi for RemoteIoT?
The Raspberry Pi is an ideal platform for RemoteIoT projects due to its affordability, flexibility, and strong community support. With its built-in networking capabilities and compatibility with various software tools, it serves as a powerful foundation for building IoT solutions. Additionally, its small form factor makes it suitable for deployment in various environments.
Key Benefits of RemoteIoT Setup
- Remote monitoring and control of IoT devices
- Cost-effective solution for home automation
- Enhanced security through advanced configuration options
- Scalability for larger IoT projects
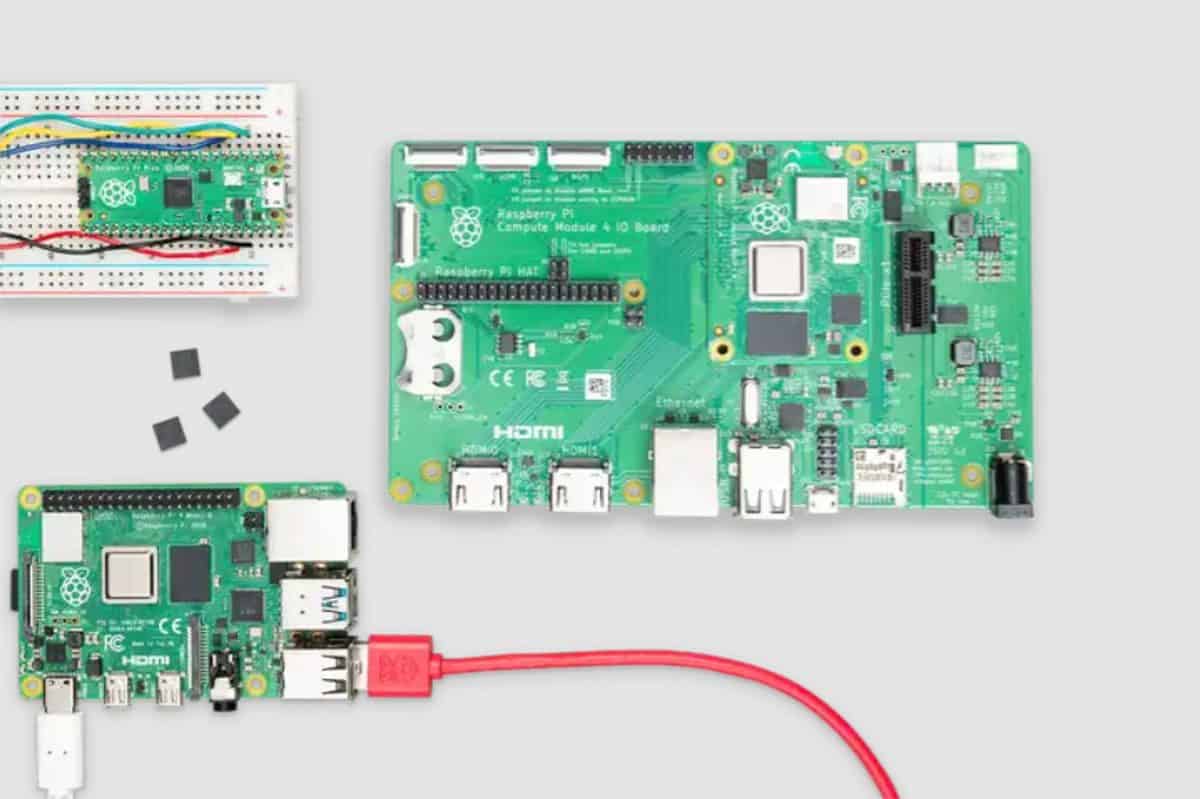
Raspberry Pi Overview
Before diving into the specifics of RemoteIoT behind router example Raspberry Pi, it's essential to understand the Raspberry Pi itself. The Raspberry Pi is a single-board computer designed to promote the teaching of basic computer science in schools and developing countries. Over the years, it has evolved into a versatile tool for a wide range of applications, including IoT projects.
Raspberry Pi Models
There are several models of Raspberry Pi available, each with different specifications and capabilities. The most commonly used models for IoT projects include:
- Raspberry Pi 4 Model B
- Raspberry Pi 3 Model B+
- Raspberry Pi Zero W
Key Features
- ARM-based processor for efficient performance
- Onboard Wi-Fi and Ethernet for networking
- GPIO pins for interfacing with sensors and actuators
- Support for various operating systems, including Raspbian and Ubuntu
Networking Basics for IoT
Understanding networking basics is crucial for setting up a RemoteIoT system behind a router. This section will cover fundamental concepts such as IP addresses, subnets, and ports, which are essential for configuring remote access.
IP Addresses
An IP address is a unique identifier assigned to each device on a network. In a RemoteIoT setup, your Raspberry Pi will have a local IP address assigned by your router. To access it remotely, you'll need to configure port forwarding or use a dynamic DNS service to map your public IP address to your local network.
Read also:Unveiling The Power Of Desi49com Your Ultimate Guide To Success
Ports and Protocols
Ports are used to identify specific services running on a device. For example, SSH (Secure Shell) uses port 22 by default. When setting up RemoteIoT behind a router, you'll need to ensure that the necessary ports are open and forwarded to your Raspberry Pi.
Setting Up Raspberry Pi for RemoteIoT
Now that you have a basic understanding of networking, let's move on to setting up your Raspberry Pi for RemoteIoT. This process involves installing the necessary software, configuring network settings, and enabling remote access.
Step 1: Install Raspbian OS
Raspbian is the official operating system for Raspberry Pi and comes pre-installed with essential tools for IoT projects. Download the latest version of Raspbian from the official website and install it on your Raspberry Pi using an SD card.
Step 2: Configure Wi-Fi or Ethernet
Connect your Raspberry Pi to your local network using either Wi-Fi or Ethernet. If using Wi-Fi, you can configure the network settings in the Raspbian desktop environment or through the terminal using the wpa_supplicant.conf file.
Step 3: Enable SSH
SSH is a secure protocol for remote access to your Raspberry Pi. To enable SSH, open the Raspberry Pi configuration tool (sudo raspi-config) and navigate to the "Interfacing Options" menu. Select "SSH" and enable it.
Port Forwarding for Remote Access
Port forwarding is a crucial step in setting up RemoteIoT behind a router. It allows external devices to access your Raspberry Pi by forwarding specific ports from your router to your local network.
Steps to Configure Port Forwarding
- Log in to your router's admin interface
- Locate the port forwarding section
- Set up a new rule to forward port 22 (SSH) to your Raspberry Pi's local IP address
Dynamic DNS
If your Internet Service Provider (ISP) assigns a dynamic public IP address, consider using a dynamic DNS service to maintain a consistent domain name for remote access.
Securing Your IoT System
Security should always be a top priority when setting up a RemoteIoT system. This section will cover best practices for securing your Raspberry Pi and protecting your IoT devices from unauthorized access.
Firewall Configuration
Use a firewall to restrict incoming and outgoing traffic to only the necessary ports and services. The ufw (Uncomplicated Firewall) tool is a user-friendly option for managing firewall rules on your Raspberry Pi.
Regular Updates
Keep your Raspberry Pi's operating system and software up to date to protect against vulnerabilities. Use the sudo apt update and sudo apt upgrade commands to install the latest updates.
Using SSH for Remote Access
SSH is the primary method for remote access to your Raspberry Pi. This section will guide you through connecting to your Raspberry Pi using SSH from a remote location.
Connecting via SSH
From a remote computer, open a terminal and enter the following command:
ssh pi@your-public-ip-address
Replace your-public-ip-address with the actual IP address of your router. You'll be prompted to enter the Raspberry Pi's password.
VPN Solutions for Enhanced Security
For added security, consider using a Virtual Private Network (VPN) to encrypt communication between your remote device and Raspberry Pi. This ensures that sensitive data is protected from potential eavesdroppers.
Popular VPN Options
- OpenVPN
- WireGuard
- Tailscale
Troubleshooting Common Issues
Despite careful planning, issues may arise during the setup process. This section will address common problems and provide solutions to help you troubleshoot effectively.
Issue: Unable to Connect via SSH
Check the following:
- Ensure SSH is enabled on your Raspberry Pi
- Verify port forwarding settings on your router
- Confirm your public IP address is correct
Issue: Slow Network Performance
Optimize your network settings:
- Use a wired Ethernet connection instead of Wi-Fi
- Reduce unnecessary background processes on your Raspberry Pi
Conclusion
In conclusion, setting up a RemoteIoT behind router example Raspberry Pi requires a combination of networking knowledge, security practices, and configuration skills. By following the steps outlined in this guide, you can create a secure and efficient remote access system for your IoT projects. Remember to regularly update your Raspberry Pi and monitor its performance to ensure optimal functionality.
We invite you to share your experiences and ask questions in the comments section below. Additionally, explore our other articles for more insights into IoT and Raspberry Pi projects. Together, let's build a smarter and more connected world!