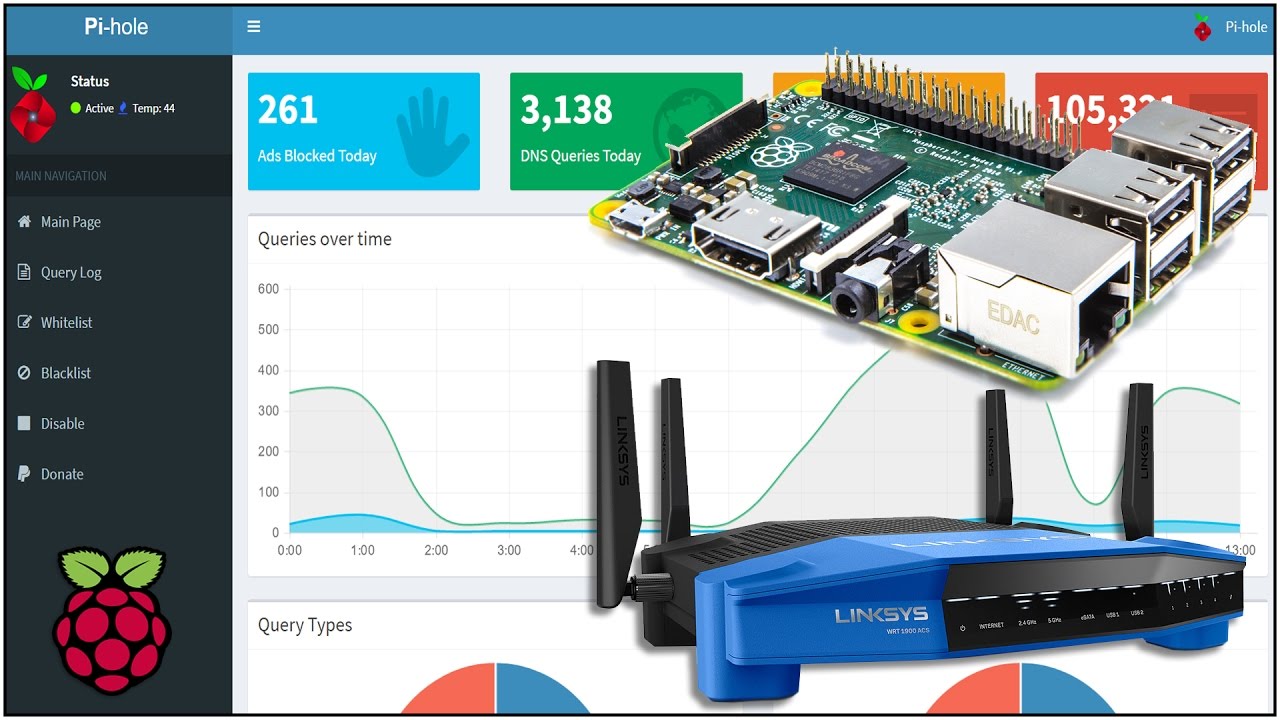
Raspberry Pi NAT router setup has become increasingly popular among tech enthusiasts and professionals alike. By transforming your Raspberry Pi into a network address translation (NAT) router, you can unlock a wide range of possibilities, including enhanced network control, firewall customization, and even cost savings. If you're looking to dive into the world of networking and want to leverage the versatility of Raspberry Pi, this guide is for you.
In this article, we will explore the step-by-step process of setting up a NAT router using Raspberry Pi. Whether you're a beginner or an experienced user, this guide will provide you with the tools and knowledge necessary to successfully configure your NAT router. Additionally, we'll delve into the benefits of using Raspberry Pi as a NAT router, potential use cases, and troubleshooting tips.
As we proceed, we'll ensure that every aspect of the setup is covered in detail. From understanding the basics of NAT to configuring advanced settings, this article aims to equip you with the expertise needed to manage your own Raspberry Pi-based network infrastructure. Let's get started!
Read also:Leonardo Nam The Rising Star In Hollywood
What is a NAT Router?
Before diving into the Raspberry Pi NAT router setup, it's essential to understand what a NAT router is and how it functions. NAT (Network Address Translation) is a protocol used to map multiple devices within a private network to a single public IP address. This allows multiple devices to share a single internet connection while maintaining security and efficiency.
Key Features of NAT Routers
- IP Address Management: NAT routers manage the allocation of IP addresses within a private network, ensuring that devices can communicate with external networks seamlessly.
- Security: By hiding the internal IP addresses of devices, NAT routers add an extra layer of security to your network.
- Efficient Resource Usage: NAT reduces the need for multiple public IP addresses, making it a cost-effective solution for both home and business networks.
Why Use Raspberry Pi as a NAT Router?
Raspberry Pi offers a cost-effective and flexible solution for setting up a NAT router. Its compact size, low power consumption, and versatility make it an ideal choice for networking enthusiasts. Below are some reasons why Raspberry Pi is a great platform for NAT router setup:
- Cost-Effective: Raspberry Pi is significantly cheaper than commercial routers while offering similar functionality.
- Customizability: With Raspberry Pi, you have full control over the configuration, allowing you to tailor the router to your specific needs.
- Community Support: The Raspberry Pi community provides extensive resources and tutorials, making it easier to troubleshoot and optimize your setup.
Preparation for Raspberry Pi NAT Router Setup
Before starting the Raspberry Pi NAT router setup, you'll need to gather the necessary hardware and software components. Proper preparation will ensure a smooth and successful setup process.
Hardware Requirements
- Raspberry Pi (preferably Raspberry Pi 4 or later)
- Power supply for Raspberry Pi
- MicroSD card with Raspberry Pi OS installed
- Ethernet cables
- Additional network interface card (optional, for more complex setups)
Software Requirements
- Raspberry Pi OS
- Network configuration tools (e.g., dhcpcd, iptables)
Step-by-Step Raspberry Pi NAT Router Setup
Now that you have all the necessary components, let's dive into the step-by-step process of setting up your Raspberry Pi as a NAT router.
Step 1: Install Raspberry Pi OS
Begin by installing Raspberry Pi OS on your microSD card. You can download the operating system from the official Raspberry Pi website and use a tool like BalenaEtcher to flash it onto the card.
Step 2: Configure Network Interfaces
Once Raspberry Pi OS is installed, configure the network interfaces. You'll need to set up both the wired and wireless interfaces to ensure proper connectivity.
Read also:Heidi Jofit The Ultimate Guide To Her Inspiring Journey And Achievements
Step 3: Enable IP Forwarding
IP forwarding is a crucial step in enabling NAT functionality. To enable IP forwarding, edit the `/etc/sysctl.conf` file and uncomment the line `net.ipv4.ip_forward=1`.
Step 4: Configure iptables
iptables is used to set up the NAT rules. Use the following commands to configure the necessary rules:
sudo iptables -t nat -A POSTROUTING -o eth0 -j MASQUERADE
sudo iptables -A FORWARD -i eth0 -o wlan0 -m state --state RELATED,ESTABLISHED -j ACCEPT
sudo iptables -A FORWARD -i wlan0 -o eth0 -j ACCEPT
Step 5: Save iptables Rules
To ensure that your iptables rules persist after a reboot, save them using the following command:
sudo sh -c "iptables-save > /etc/iptables/rules.v4"
Advanced Configuration Options
Once the basic setup is complete, you can explore advanced configuration options to further enhance your Raspberry Pi NAT router.
Firewall Customization
Customizing the firewall settings allows you to control incoming and outgoing traffic more effectively. You can use tools like ufw (Uncomplicated Firewall) to simplify the process.
Quality of Service (QoS)
Implementing QoS ensures that bandwidth is allocated efficiently, prioritizing critical applications and services.
Troubleshooting Common Issues
Even with careful preparation, issues may arise during the Raspberry Pi NAT router setup. Below are some common problems and their solutions:
- No Internet Connectivity: Check the network cable connections and ensure that the correct interfaces are configured.
- IP Forwarding Not Working: Verify that IP forwarding is enabled in the `/etc/sysctl.conf` file.
- Firewall Blocking Traffic: Review your firewall rules to ensure that necessary traffic is allowed.
Benefits of Using Raspberry Pi as a NAT Router
Using Raspberry Pi as a NAT router offers numerous benefits beyond cost savings. Some of these benefits include:
- Improved network security through custom firewall rules
- Enhanced control over network traffic
- Flexibility to implement additional features like QoS and traffic monitoring
Potential Use Cases
Raspberry Pi NAT routers can be used in a variety of scenarios, including:
- Home networking
- Small business networks
- Remote access solutions
Conclusion
Raspberry Pi NAT router setup is a powerful way to take control of your network infrastructure. By following the steps outlined in this guide, you can successfully configure your Raspberry Pi as a NAT router and enjoy the benefits it offers. Remember to explore advanced configuration options to further enhance your setup.
We encourage you to share your experience with Raspberry Pi NAT router setup in the comments below. Additionally, feel free to explore other articles on our site for more networking tips and tricks.
Table of Contents